
Christmas is only five(!!!) days away! Are you guys ready? Mike and I are taking it pretty chill this year. We’ve been checking out the Christmas markets and illuminations, but other than that we haven’t really done anything super Christmasy. We are planning on making a traditional Japanese potato salad Christmas tree – don’t worry, I’ll post a photo of it, I’m sure you want to see?!
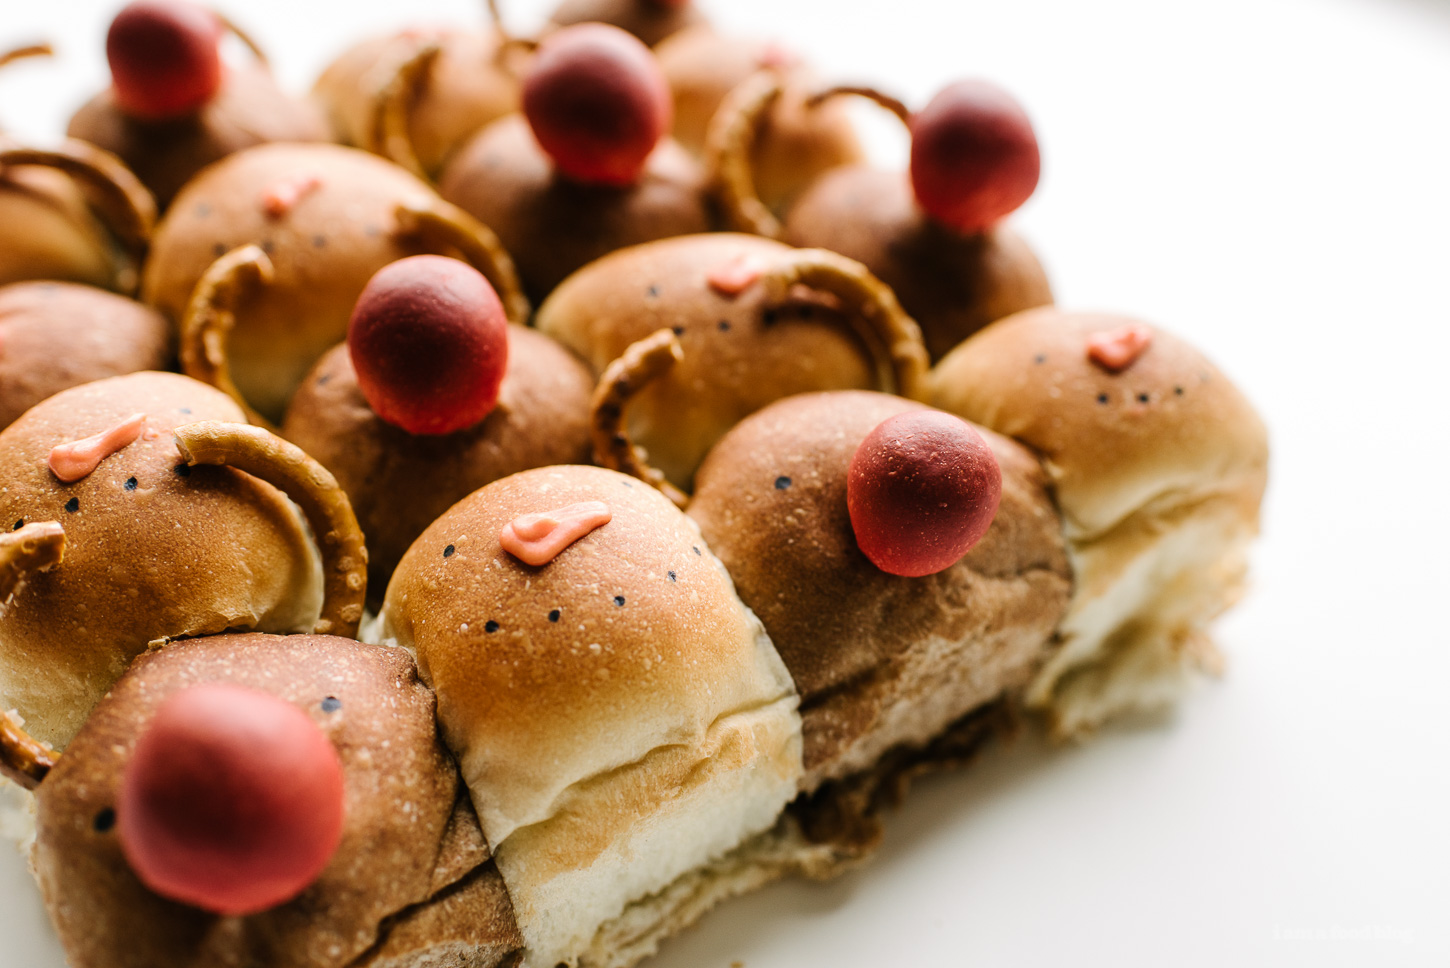
Anyway, I made sure to make lots of Christmas-y things before leaving home and this bread was something that I was dreaming of making since last Christmas. I’m super into the cute pull apart bread movement. It started, like almost all kawaii things, in Japan, where they call it chigiri pan: tear-off bread, in Japanese. It’s usually super soft and squishy white bread rolls, baked close together so they form little squares. They’re decorated like cute characters and they are absolutely adorable. Sometimes they make them in circle/wreath shapes too, but I much prefer the square version. But, truth is, I’m all about bread because carb life is my kinda jam.
The bread game is insanely on point here in Tokyo. I’m forever dragging Mike into various bakeries to window shop. I want to eat them all, but my eyes are bigger than my tummy so we end up with me hard crushing and him playing Mario Run on his phone. One of these days I’m going to cave and buy a massive amount of baked goods. I feel like it’s inevitable.
Also inevitable, eating the entire tray of this bread. It’s so addictive because of its soft squishiness – you’re not making an artisanal sourdough loaf here, so if you’re looking for that kind of bread you’ll have to keep searching. But, if you want something soft and squishy, this is your recipe! Hope you guys are bread baking for Christmas, because nothing says cozy like warm bread, right out of the oven.
PS – Strawberry sandwiches, yay or nay?
Reindeer & Snowman Pull Apart Christmas Bread
makes 16 buns
Buns:
- 120 grams water, warm
- 1 teaspoon active dry yeast
- 250 grams bread flour
- 30 grams sugar
- 1/4 teaspoon salt
- 1/2 large egg, lightly beaten
- 25 grams butter, at room temperature
- 1/2 tablespoon cocoa powder
- red gel food coloring
To finish:
- edible marker, or melted chocolate
- orange candy melts
- pretzels for antlers
buns adapted from Bento Monsters
Notes: I found that the cocoa didn’t really add a lot of flavor or difference in color, so if you want to skip out on that step, I’d recommend it!
I often find myself scaling recipes and having things call for 1/2 large egg. I usually whisk a whole egg in a small bowl, then measure out 1 1/2 tablespoons of the whisked egg.
Sprinkle the yeast onto the warm water. Let proof.
In the bowl of your mixer, stir together the flour, sugar and salt.
Whisk the egg into the yeast mixture, then add to the dry ingredients. Use a wooden spoon to mix until it comes into a ball and then switch to a dough hook and knead until the dough pulls away cleanly from the sides.
Add the room temperature butter and continue to knead, about 10 minutes, until the dough reaches the windowpane stage – take a piece of dough about the size of a golf ball and stretch it out between your fingers and thumbs. If you can stretch it without the dough breaking, you’re good to go.
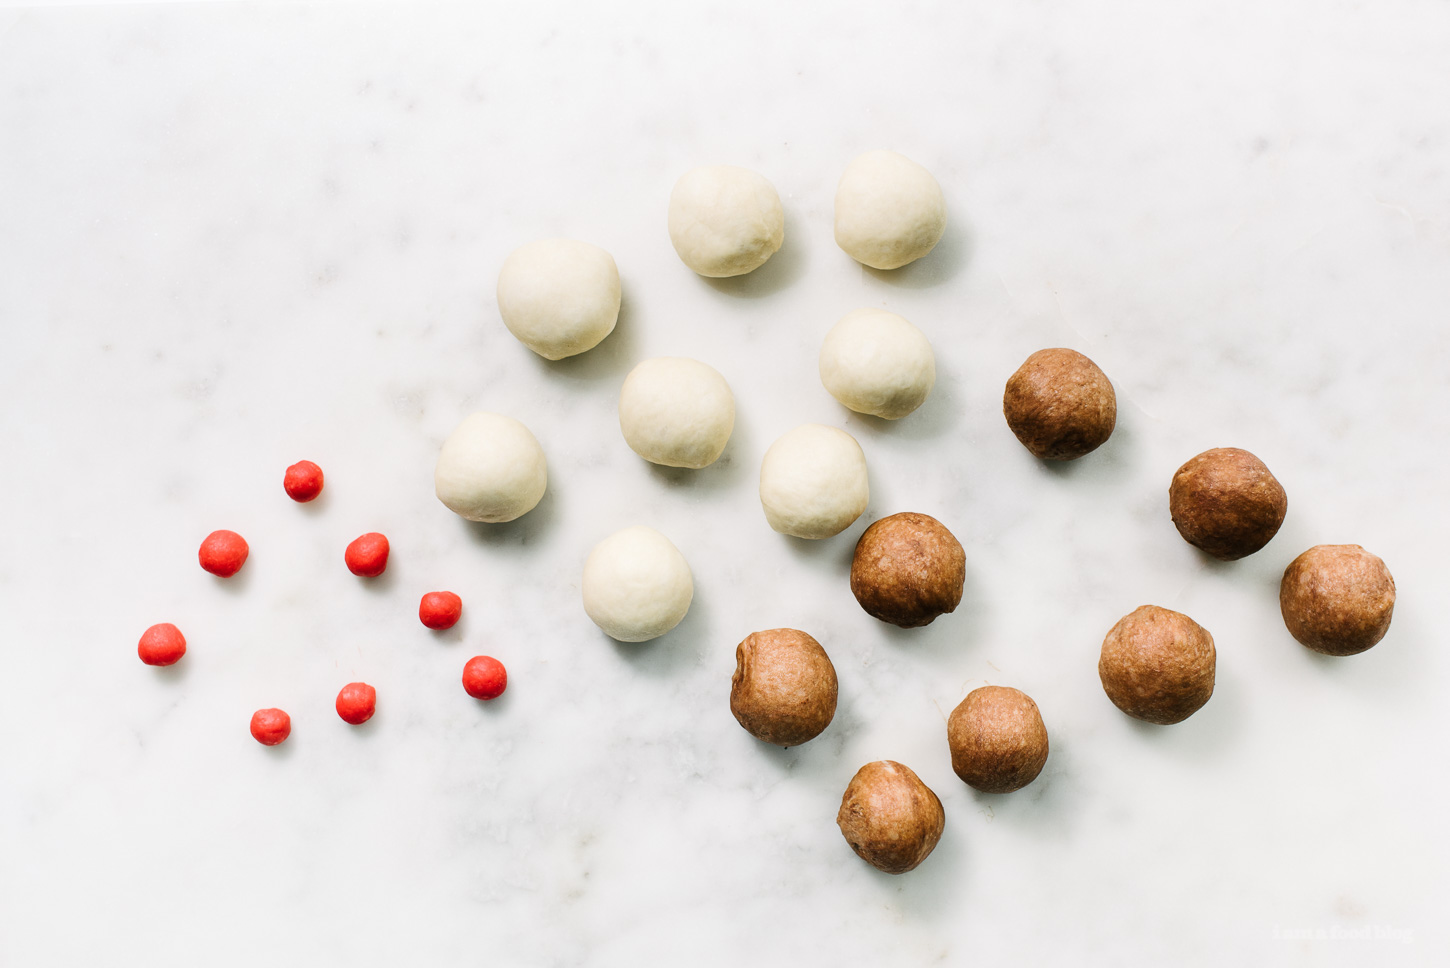
Take a small amount of dough, about the size of a golf ball. By hand, knead a touch of red food coloring into it. Wrap it and set it aside.
Divide the remaining dough into two equal portions. Knead 1/2 of the dough with the cocoa, using the dough hook, until completely incorporated. When it is incorporated, place it in a clean bowl and cover with plastic wrap. Wrap up the remaining dough in a clean bowl and cover with plastic wrap as well. Place everything in a warm spot and let rise until doubled, about 1 hour.
Take the dough and tip it out onto a lightly floured surface. Punch down lightly then divide each dough ball into 8 equal portions, so you have 8 white balls and 8 brown balls. If you want to be precise, use your kitchen scale to see how much your dough weighs, then divide by 8.
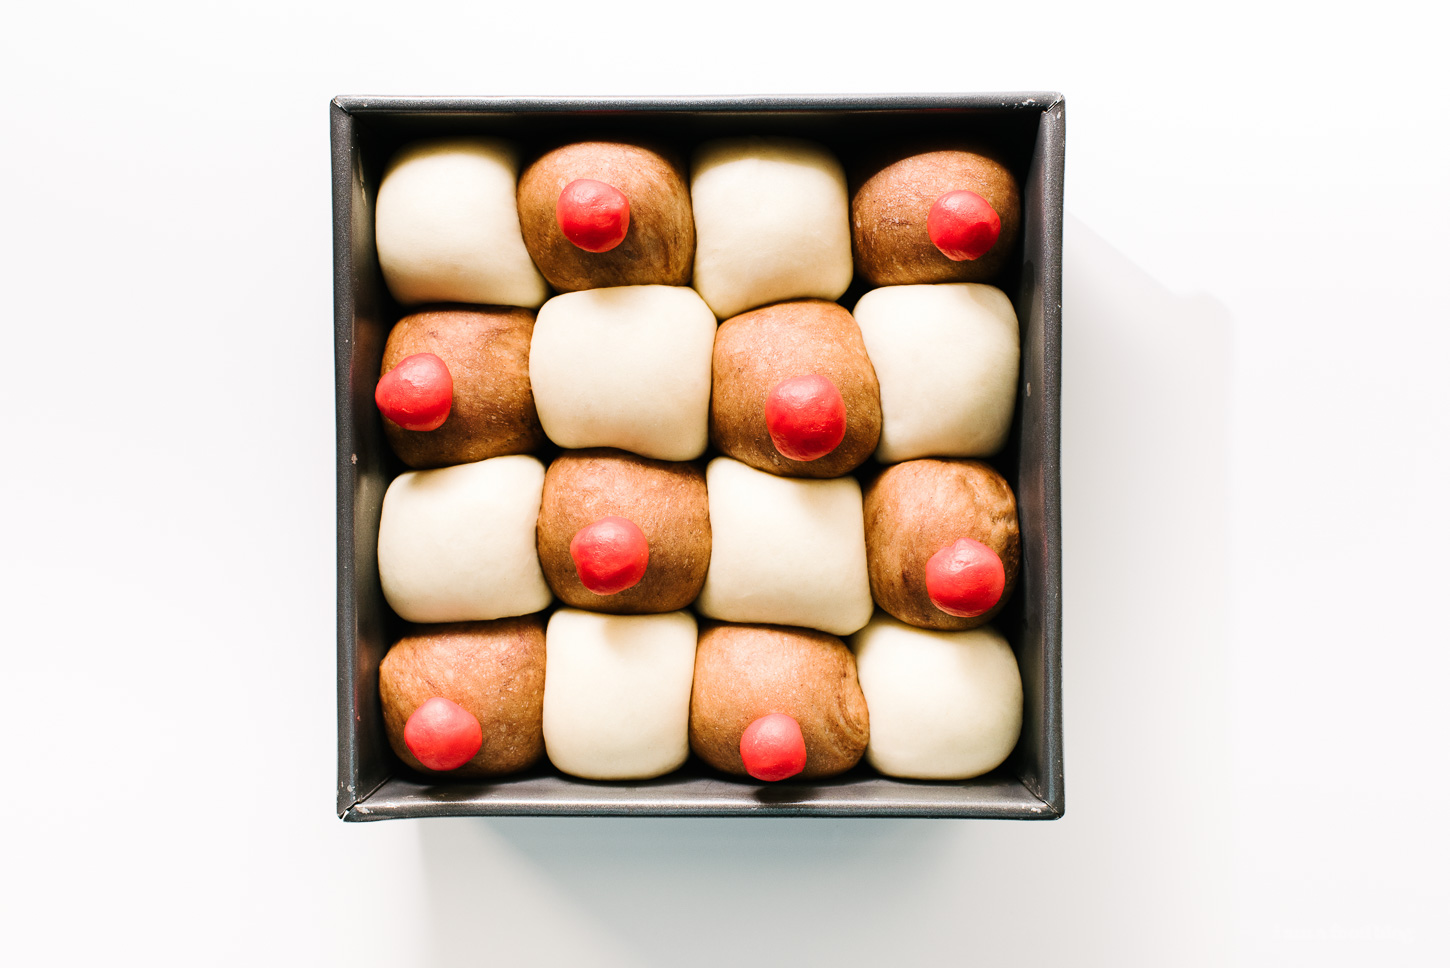
Roll out the portioned dough and bring the edges towards the center and tucking into balls. Lightly grease the pan and place the 16 buns in, alternating. There will be space between the buns, don’t worry, they’ll rise. Cover and let rise in a warm spot for 30 minutes.
When the buns have proofed so that they’re touching each other, divide the red dough into 8 pieces and shape into noses. Place onto the buns, cover and continue to let proof for another 30 minutes.
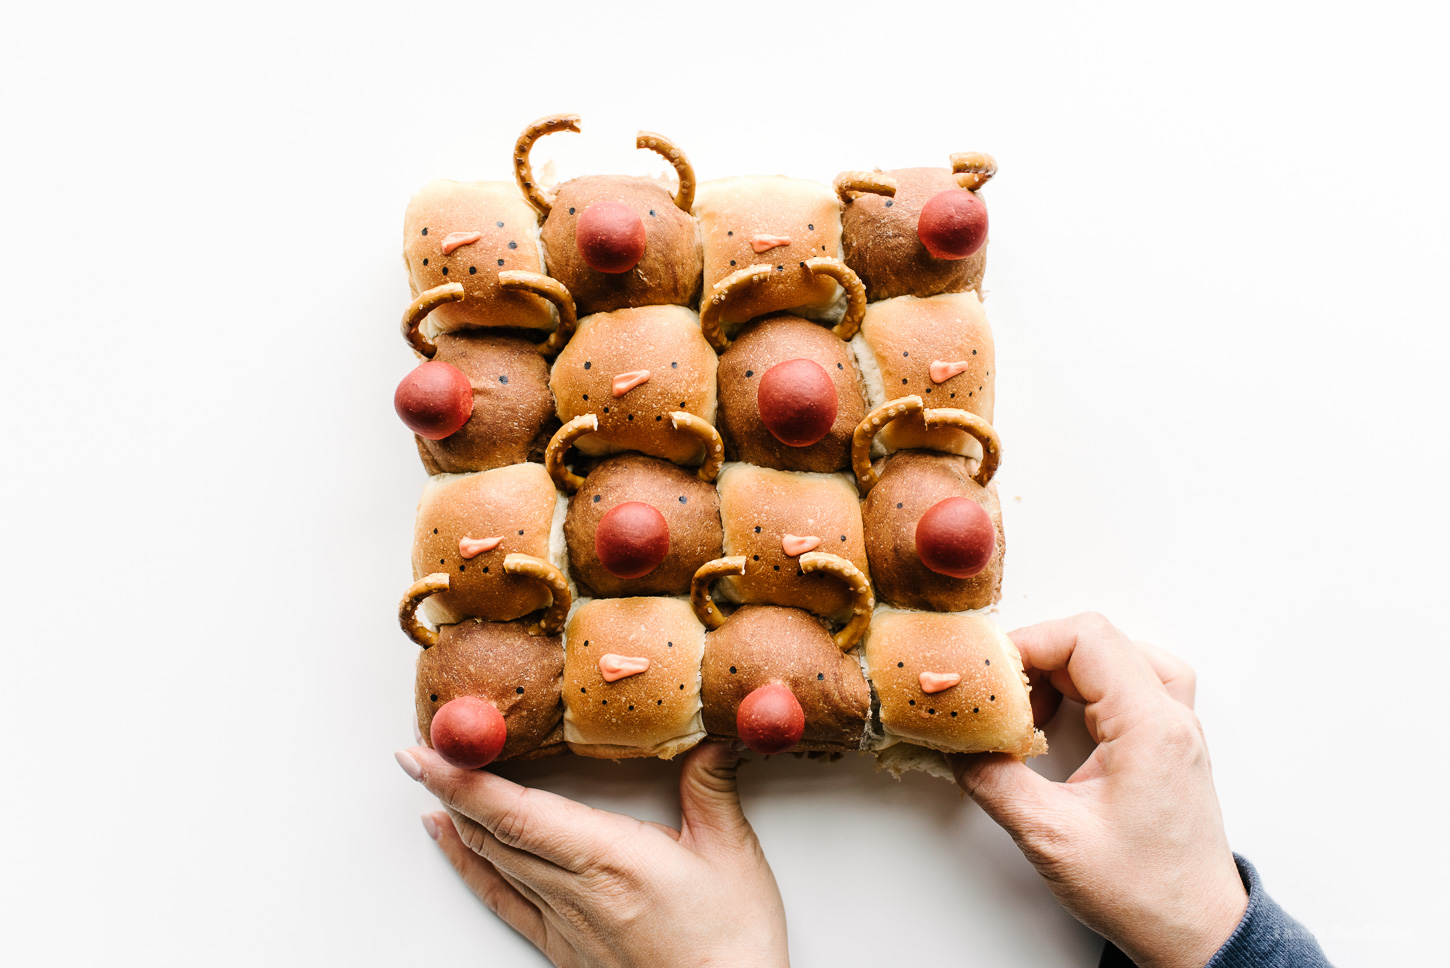
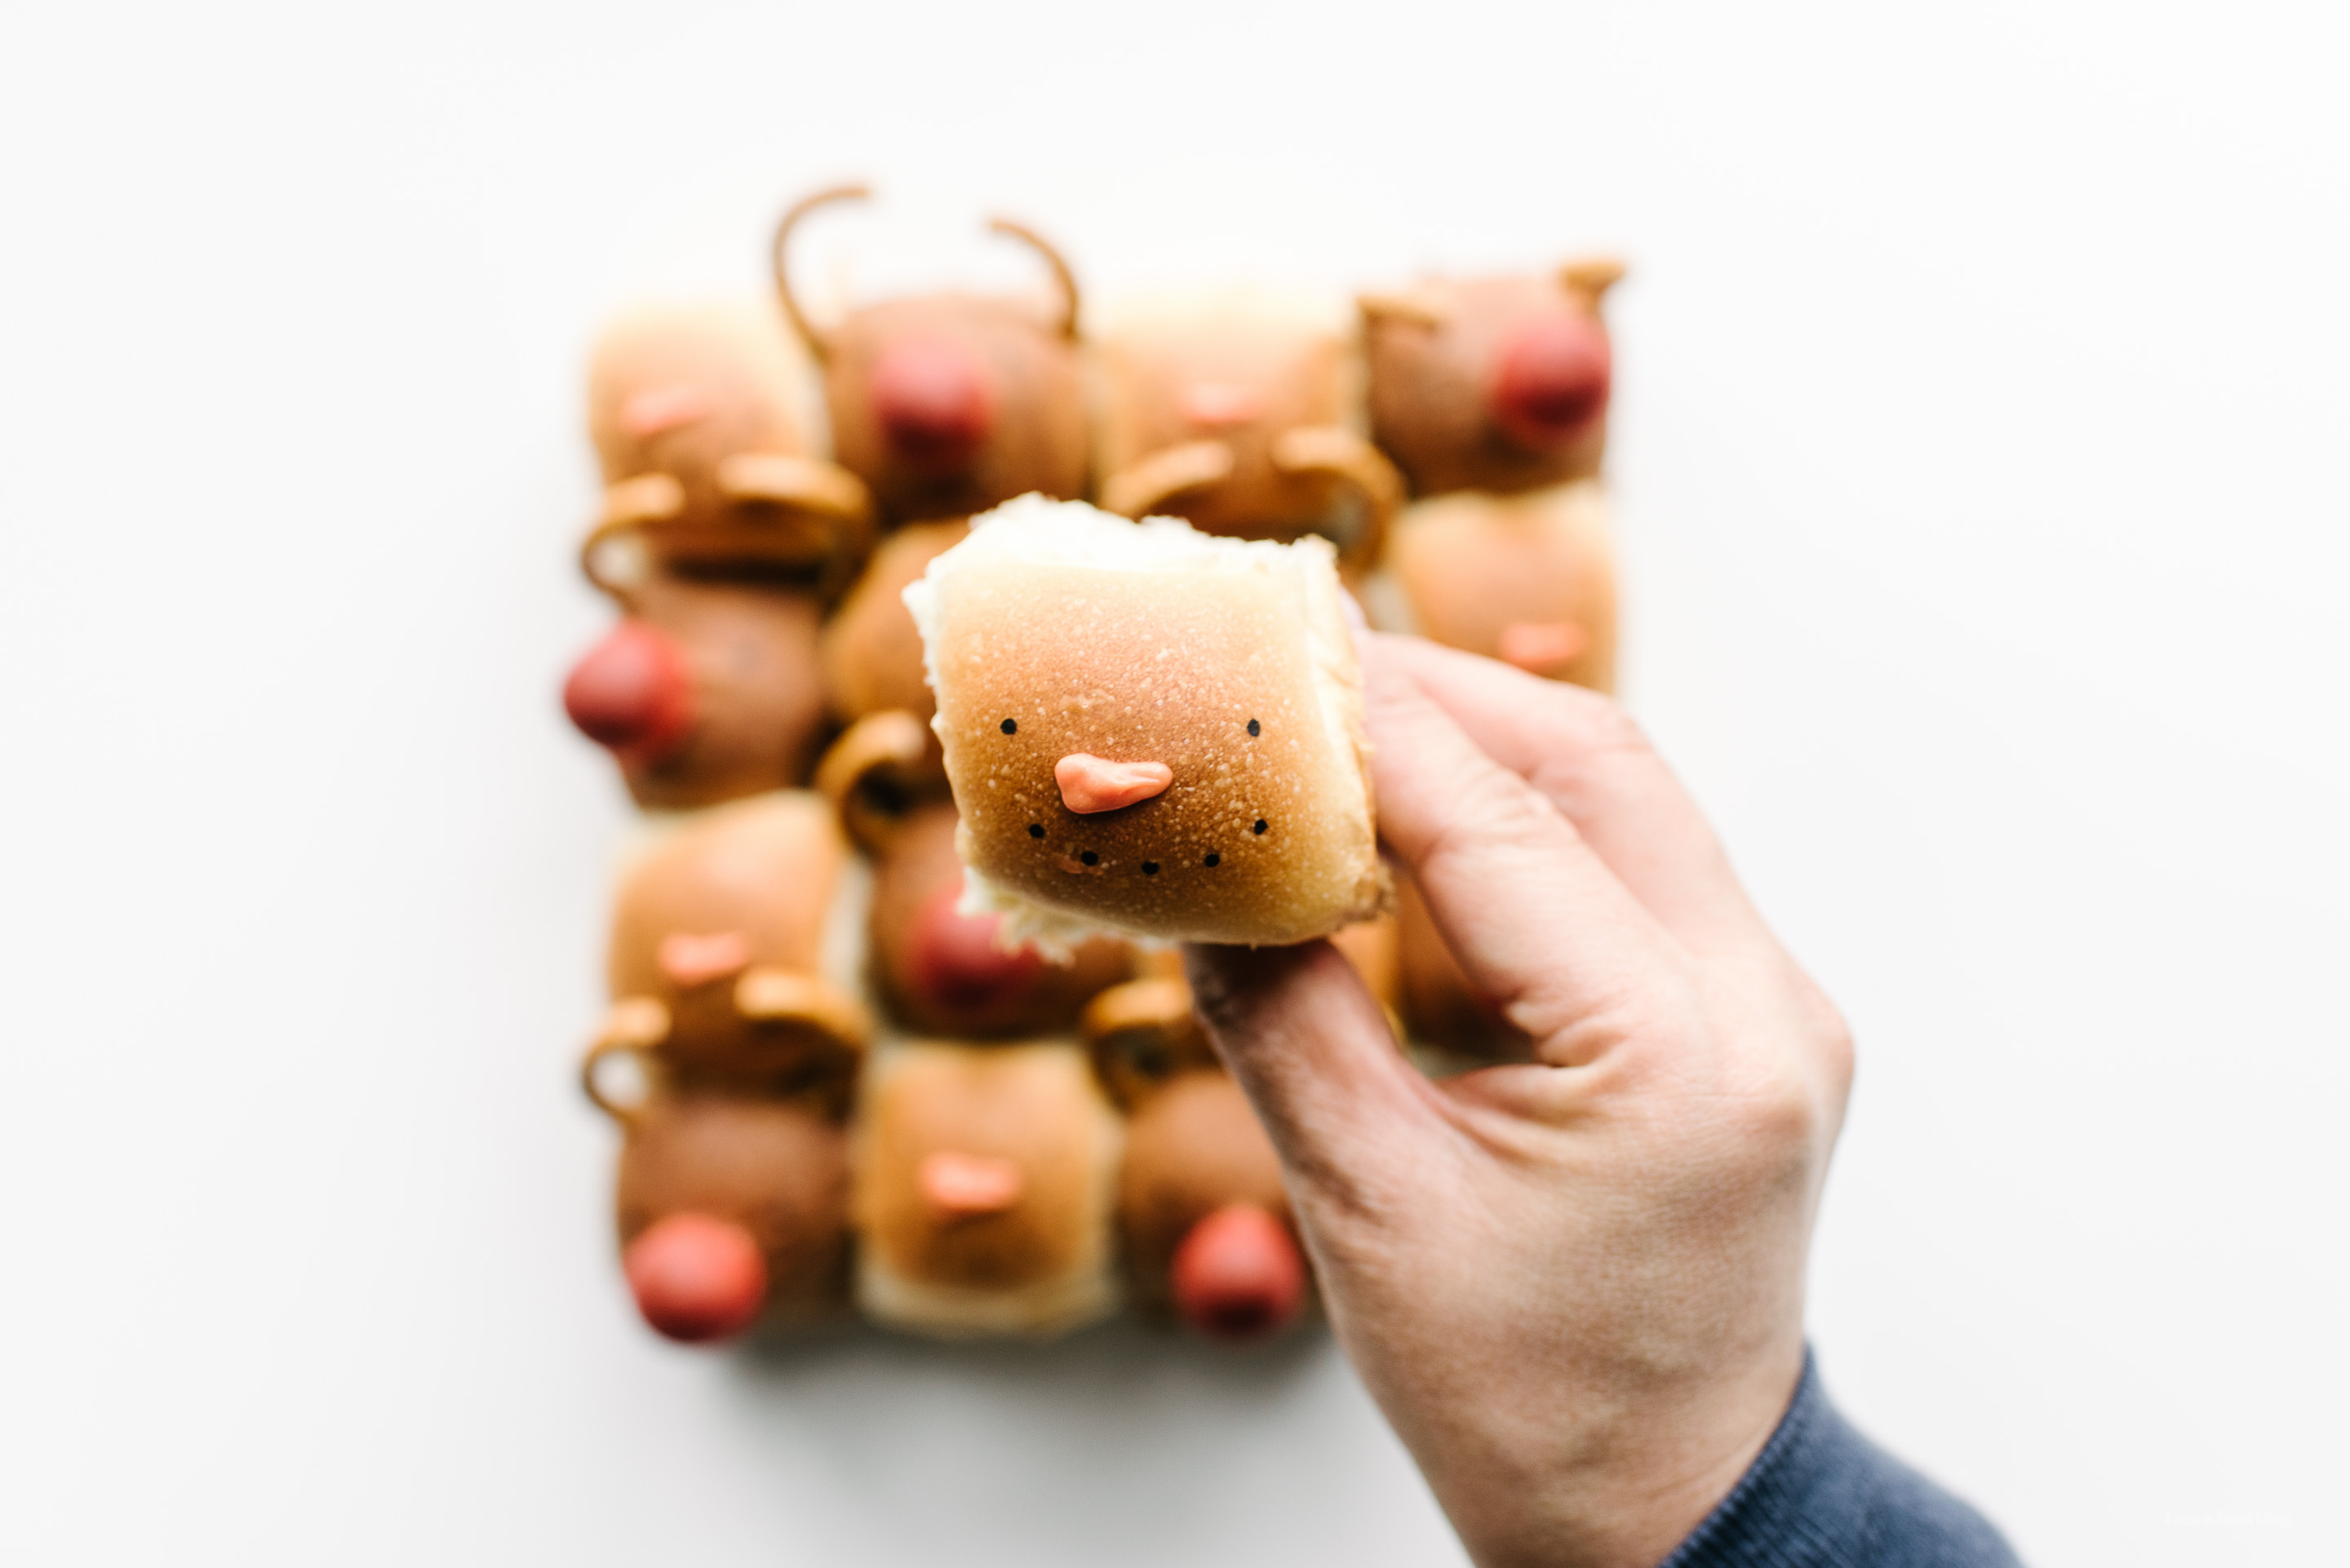
Preheat the oven to 356°F and bake for 15 minutes, or until golden brown. Check at 10 minutes, and if the bread is getting too brown on top, cover with a sheet of tin foil. Let cool completely, then draw or pipe on eyes. Pipe on carrot noses on the snowmen. Insert pretzels as antlers into the reindeer. Enjoy!
Yay!!! I lived in Japan for three years and was wary of those strawberry sandwiches at first, but they are SO GOOD. I miss them!!
I am soooo not ready for Christmas. I still have so much shopping to do!! But after reading this post I’m seriously considering avoiding all of that and just making some pull apart bread…. ;)
dhese r soooo kewt! i wanna eat ’em all! x
oooh yum! These are so adorable!!!
i kept thinking that you used cherry tomatoes for the reindeer noses, and when they didn’t look popped in the baked pictures, i was so surprised. oops. colored bread makes a lot more sense!
SO excited that traditional Japanese potato salad Christmas trees exist!! After some Google Image searches I am partial to the ones with more broccoli. And these are so cute!!!
You are the queen of cute food! This is the most creative xmas baking recipe I’ve seen in a while, you never fail to impress Steph! Also I don’t know how I feel about strawberry sandwiches, would probably go for the one that looks like a fried chicken sandwich below, hehe
These look adorable. Have you ever tried a strawberry omelet? Put a slice of brie spread with strawberry jam in the middle before folding and then top with sliced fresh berries. Sounds weird, but is amazing!
These are adorable i can’t wait to make them!!!
These look wonderful!!!! You are super creative. Love your blog!! Thanks for sharing.
Kirsten
– http://hellofromthemiddleofnowhere.blogspot.com/
I’ve never seen bread like that before. How interesting!
What size pan do you use?
hi J.R.
it’s an 8×8 inch pan :)